
How to Wash a Graphic Hoodie So the Print Doesn’t Crack, Fade or Peel


The first wash is where a graphic hoodie is won or lost. You waited for the drop, you paid for the artwork, you wore it twice — and then one hot cycle later the print has a hairline crack across the saint’s face, and you can never unsee it. Nobody tells you this at the checkout. The care label does, in six words you never read.
Here is how to wash a graphic hoodie, in one line, before the detail: turn it inside out, zip it closed, wash it cold on a gentle cycle with a mild liquid detergent, skip the bleach and the softener, and air-dry it flat. That one routine covers almost every printed hoodie on the market, including every piece in our hoodies collection. The rest of this guide is about why each step matters, where the routine changes for all-over prints and distressed prints, and the mistakes that quietly kill a print long before the wash that gets blamed for it.
Why prints die: two enemies, and only two
Every print that cracks, fades or peels was beaten by the same two forces: heat, and rubbing. That is the whole science, and once you see it you cannot unsee it — every rule in this guide is just one of those two forces being kept away from ink.
Heat loosens the grip between ink and cloth. Warm ink gives way under pressure the way a softened candle bends instead of holding its shape — and once it has given way, any contact can leave a mark: the drum wall, another garment’s zip, a rough towel in the same load. Cold water does not just save colour. It keeps the ink firm while the machine does its work.
Friction is the other half. A print is a thin layer sitting on top of fibres (or, for some print types, inside them). Every rub thins it. The drum rubs it. Other clothes rub it. Folding it along the same line, wash after wash, creases it exactly where it is weakest. Inside-out washing is not a fussy extra. It is the single decision that puts the inside of the hoodie between the print and everything trying to rub it.
Not all prints fail the same way, and knowing which one you own tells you what to guard:
| Print type | How to spot it | How it fails | What to guard most |
|---|---|---|---|
| Screen print | A thin raised skin of ink, felt with a fingertip | Cracks along fold lines once heat has softened it | Heat — keep every stage cold |
| DTG (direct to garment) | Flat to the touch — the ink lives inside the fibres, not on top of them | Washes out slowly, like colour leaving, not cracking | Strong chemicals — mild liquid only, nothing with bleach |
| Vinyl / heat transfer | A separate film with edges you can catch with a nail | Lifts at the corners first, then comes away in sheets | Rubbing — turn it inside out, use a mesh bag, keep the load light |
| Sublimation / all-over | No layer at all — the colour is dyed into the cloth | Almost never cracks — sun and heat dull the colour over time | Sun and heat while drying |
If you cannot tell which type your hoodie is, default to the most cautious version of the routine below. The cautious version is never wrong. It just costs you ten minutes of air-drying. If you are buying your first printed hoodie, our hoodie styles, fit and fabric guide explains what to check before the first wash ever happens.
How to wash a graphic hoodie, step by step
This is the routine. It takes two minutes of attention before the machine and saves you a hoodie.
1. Read the care label first. It was written for that exact piece, so it outranks everything below — this guide included. If the label says hand wash or dry clean only, believe it. Everything below assumes the label allows a machine wash.
2. Zip it closed. An open zip turns into loose hardware in the drum — the teeth catch the print, snag other garments, and let the two printed halves of a full-zip fold and rub against each other. Zip it all the way up before it goes in.
3. Turn it inside out. With the print on the inside, the drum and the other clothes meet plain fleece, and the artwork rides through the cycle protected. For an all-over print this matters twice as much — the artwork covers the body and the sleeves, so there is no safe side facing out. Inside-out is not optional on a piece like our Risen King Zip Up White, where the artwork runs edge to edge. It is the whole method.
4. Wash it with soft company only. Same colours, similar weight, nothing heavy or rough. Denim and towels are the worst load-mates a print can have — their weight and texture grind against the artwork for the whole cycle. A graphic hoodie washed alone, or with soft tees, comes out looking a year younger than the same hoodie washed with jeans.
5. Cold water, gentle cycle. Cold — 30°C / 86°F or below. Gentle or delicate, with a low spin. Hot water weakens the ink’s bond and fades dark colours; a hard spin stretches fibres and stresses the print. Cold and gentle is the combination that costs you nothing in cleaning power on a lightly worn hoodie and buys you years of print life.
6. Mild liquid detergent, and less of it than you think. About half the dose you would normally pour. Extra detergent does not clean a print better — it leaves residue that stiffens the fabric and traps smells. Liquid, not powder; powder granules can sit on a print and abrade it. Skip bleach entirely, and leave the softener on the shelf as well: it leaves a coating on the fibres that takes the edge off the ink and, on thermal pieces, blocks the air pockets that keep you warm.
7. Take it out promptly. Do not leave a damp printed hoodie sitting in a warm drum. The longer wet ink sits against warm metal and folded fabric, the more it sticks, transfers and creases. Out of the machine, straight to the drying step.
Drying: where most prints actually die
Here is the uncomfortable truth most guides bury: the wash is not what kills most prints. The dryer is. A hot dryer is the worst of both worlds at once: high heat softening the ink while the drum keeps it moving. One high-heat dry can crack a screen print that survived twenty careful washes. If you remember one sentence from this guide, make it this one: the dryer does more damage to a print than every wash before it combined.
Dry it flat on a towel or a rack. While the fabric is still damp, pull the shoulders, cuffs and hem back to their proper shape, then leave it alone — away from radiators and out of strong sun, which fades colour just as surely as hot water does. Heavyweight fleece takes twelve to twenty-four hours to dry this way. Plan for it: wash the night before you need it, not the morning of.
Two things about drying that heavyweight pieces specifically punish you for getting wrong. First, never hang a wet heavyweight hoodie on a narrow hanger — all that wet weight hangs from two shoulder points, and the seams sag and stay sagged. Flat, or folded over a wide bar, is the rule. Second, if you absolutely must use a dryer, use the lowest heat setting, add wool dryer balls, and take it out before it is fully dry so it can finish flat. Never let it run until it is bone dry. Once it is dry and holding its shape, our oversized hoodie styling guide picks up where this one leaves off — how to wear the clean piece without looking baggy.
Our own size guide’s care section says the same thing in three lines — hang dry, heat is how heavy fabric shrinks and prints crack — and it is worth believing, because the same heavyweight cotton that gives a hoodie its drape is exactly the fabric that shrinks hardest in a hot dryer.
How often should you wash it? Less than you think
Here is the first insight worth saving: the best wash is the one you skip. A hoodie is not underwear and it is not gym kit. Unless you spilled something on it or wore it through a workout, it does not need a wash after every wear — every guide that measures this lands in the same place, every five to seven wears. And every wash, even a perfect one, is a little wear on the fabric and the print. Over-washing is worse for your hoodie than under-washing. The less often it goes in the machine, the longer the artwork stays new.
That is not an excuse to wear a dirty hoodie. It is a routine: air it out between wears — hang it somewhere with airflow for a few hours and most of the smell leaves on its own. Spot-clean the small stuff instead of washing the whole piece. A fabric refresher spray handles the in-between days. Wash when it smells, when there is a visible stain, or when it has had four or five real wears — not because the calendar says so.
Think of it as a budget. Every hoodie has a number of washes in it before the print shows its age. You spend that budget one wash at a time, and you do not get a refund for washes you did not need.
Stains without a full wash
Most stains do not need a machine at all. Blot — never rub — the spot with cold water and a drop of mild liquid detergent, work from the outside of the stain inward so it does not spread, and rinse by dabbing with a clean damp cloth. Rubbing a printed area is friction on exactly the spot you are trying to save.
The rule that matters most: never put a stained hoodie in the dryer. Heat sets a stain permanently. If the stain is still there after washing, wash it again — do not dry it and hope. Once it has been through a hot dryer, the stain is part of the garment.
The zip problem: the split in the artwork
Here is the second insight, and it belongs to the full-zip graphic hoodie specifically. A pullover keeps its artwork whole. A full-zip splits the artwork in two — the print is designed across a line that opens. That split is a design feature when you wear it, and a weak point when you wash it: every time the open zip lets the two printed halves fold against each other, the artwork rubs itself along the split line, and the zip teeth catch the print edge.
That is why step two above — zip it closed — is not a generic tip. On a zip-up, washing it zipped closed does two jobs at once: it keeps the metal teeth off the print, and it holds the artwork flat so the split line does not become a fold line. It is the same reason we would never wash our Risen King Cropped Zip Up Black unzipped: the cropped cut already folds short, and an open zip adds a second crease right through the graphic.
Distressed prints need one extra rule
A distressed print is designed to look worn. That is the whole point — and it is also the trap. Aggressive washing finishes the job the designer started, too fast and in the wrong places. The fading that was drawn in becomes fading that is just damage, and the difference between intentional distress and a ruined print is only a few hot washes.
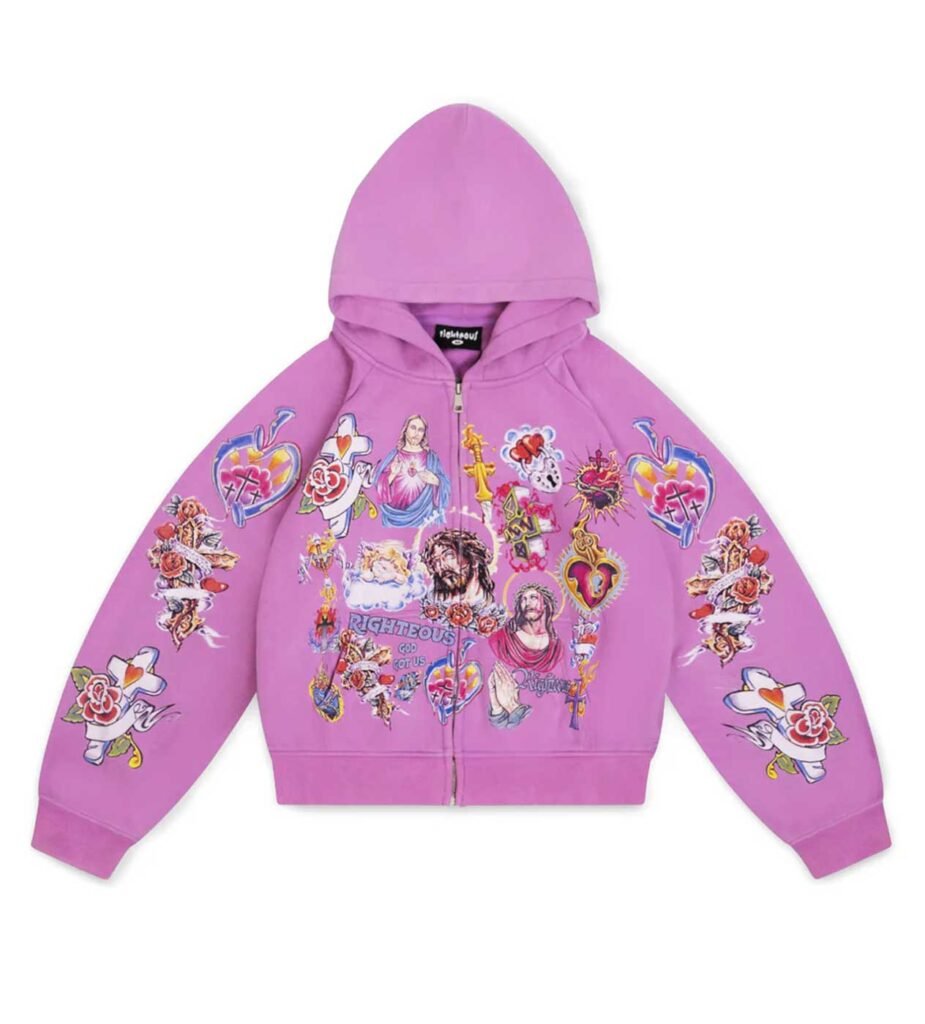
Our 3:16 Distressed Hoodie carries its artwork front, back and sleeves, screen-printed with the distress built in. It gets the gentlest version of the routine: coldest water, gentlest cycle, a mesh laundry bag for the extra layer of friction protection, and flat drying away from the sun. Treat the distress as part of the artwork, not as permission to be rough with it — because the day the print starts cracking on its own, you will not be able to tell where the design ends and the damage begins.
What our pieces need, piece by piece
Everything above is the general routine. Here is how it lands on the Righteous hoodies we actually make, because the artwork is not decoration on these garments — it is the garment.
The Risen King Zip Up White is the hardest test in the range: all-over artwork, body and sleeves, on white. White shows every transfer and every fade first, so it gets the strictest version of the routine — wash it alone or with whites only, never with darks, and never let it sit damp in the drum, because dye transfer on white does not wash out. The white zip-up is also the reason the routine exists: when the print is the whole garment, protecting the print is protecting the garment.
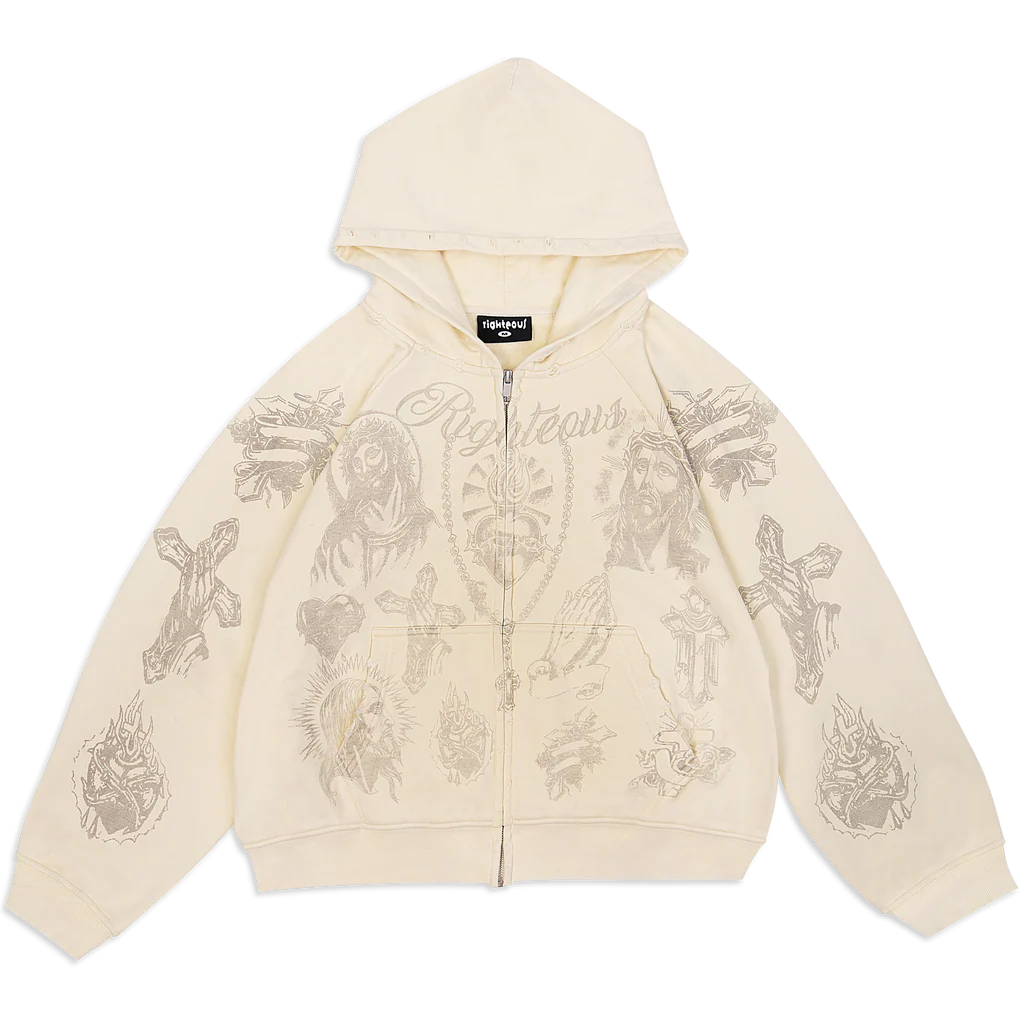
The Tatted Believer Zip Up Cream is the quieter piece — tattoo-style artwork in a softer register — and it rewards the same routine for a different reason: cream is the colour that goes grey first when it is washed hot or with darks. Cold water and similar colours keep the cream cream.
The Ultimate Sacrifice Thermal Zip Up adds a third enemy to the list: heat also kills warmth. Hot water flattens the brushed thermal interior — the tiny fibres that trap air go limp, and once they are flat they cannot trap anything. Cold wash, no softener, hang dry: on a thermal piece, those are not print rules, they are insulation rules. Our thermal guide explains the mechanism in full.
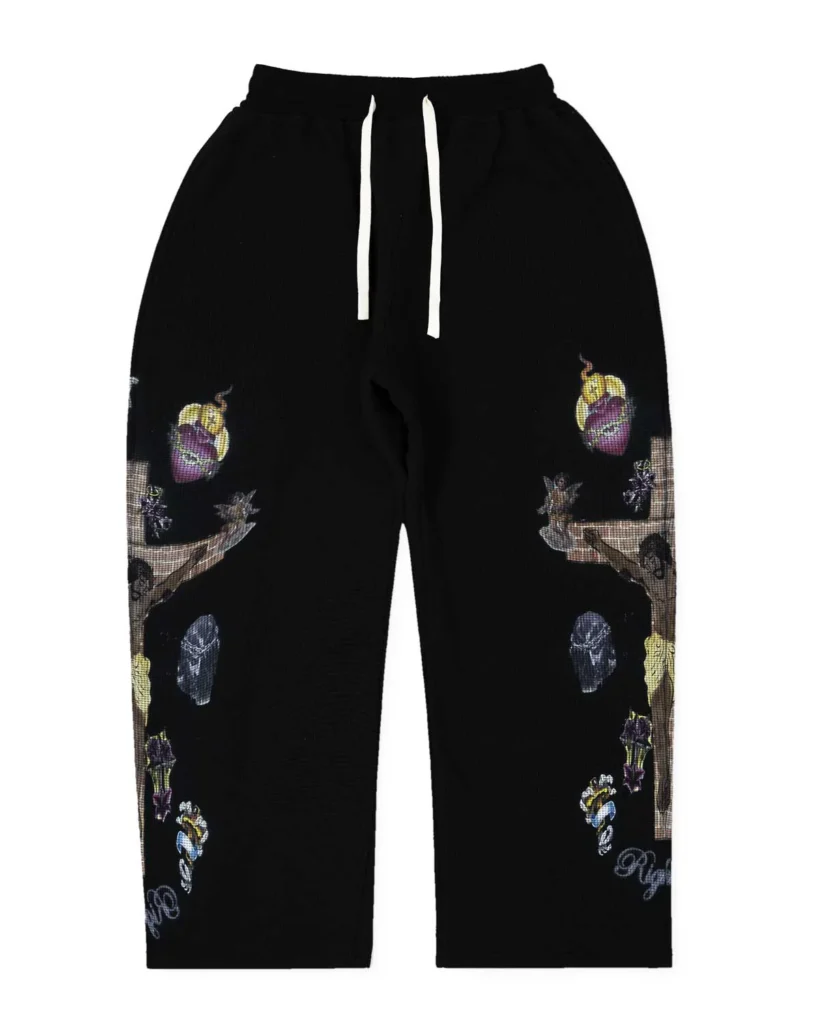
And the bottom half matters too. The Risen King Sweatpants Black carry the matching artwork down the legs — same routine, same cold water, same flat dry. A set washed two different ways stops looking like a set.
The 7 mistakes that ruin a graphic hoodie (save this)
Print this list and tape it above the machine. Every one of these has killed a good hoodie:
1. Hot water. Softens ink, fades colour, shrinks cotton. The single most common cause.
2. Tumble drying on high heat. The drum keeps the print moving against hot surfaces for the whole cycle — the worst combination in this guide.
3. Washing right-side out. The drum rubs the print directly. Inside out costs you five seconds.
4. Washing with jeans and towels. Heavy, rough items are sandpaper in the drum. Soft loads only.
5. Fabric softener. Coats fibres in wax, dulls ink, kills thermal insulation. Feels soft, does damage.
6. Ironing directly on the print. A hot iron on ink is a heat press. Iron inside out, low heat, or steam from the back — never on the graphic.
7. Drying a stain. Heat sets stains permanently. If the stain is still there, wash again — do not dry it.
Seven mistakes, seven seconds each to avoid. A hoodie that survives its first twenty washes with its print intact will survive a hundred.
FAQ
Can you put a graphic hoodie in the washing machine?
Yes — if the care label allows it. Turn it inside out, zip it closed, wash cold on a gentle cycle with a mild liquid detergent, and air-dry it flat. The machine is not the enemy. Heat and friction are, and the routine above keeps both away from the print.
Can you tumble dry a graphic hoodie?
We do not recommend it. High heat shrinks cotton and cracks prints, and the tumbling adds friction on top. If you must use a dryer, use the lowest heat setting, add wool dryer balls, and take it out before it is fully dry so it can finish flat. Never let it run until bone dry.
How often should you wash a graphic hoodie?
Every five to seven wears, or when it smells or has a visible stain — whichever comes first. Air it out between wears and spot-clean small marks instead of running a full wash. Every wash spends a little of the print’s life, so the washes you skip are washes the artwork keeps.
Why did my print crack after only one wash?
Almost always heat plus friction in the same load: hot water softened the ink, and then the drum, a zip, or a rough item in the load scraped it while it was soft. It can also be a vinyl transfer whose edges lifted — transfers peel rather than crack, and they fail first at the edges. That is how to wash a graphic hoodie so the next print does not do the same: inside out, cold, gentle, and zipped closed from the first wash.
Can you iron a graphic hoodie?
Never directly on the print. A hot iron on ink is a heat press — it will melt, crack or transfer the design. Iron from the inside, on low heat, or steam it from the reverse — the plate never touches the graphic. If the graphic is wrinkled, hanging the hoodie in a steamy bathroom usually relaxes it without any iron at all.
A graphic hoodie is not a plain hoodie with a picture on it. The picture is the hoodie — it is what you paid for, what people notice, and what you will miss the day it cracks. Wash it like that matters, because it does. The routine is short, the mistakes are avoidable, and the hoodie you look after is the one you will still be wearing in three years. Browse the full range in our graphic hoodies collection, check your fit in our oversized sizing guide before you order, and if the zip-up fit is still a question, our zip-up fit guide answers it shoulder by shoulder.